The SkyWatcher Quattro 150 telescope offers remarkable value, combining affordability with solid performance. Despite its cost-effectiveness, enthusiasts may find it necessary to undertake certain modifications to elevate its capabilities.
This post will not reiterate enhancements to the 150PDS which I've already covered but will focus on distinctive adjustments, particularly around major upgrades I made to my own 150 quattro: the focuser and the coma corrector, alongside the notable Backyard Universe modifications including the spider and mirror mask.
Coma Corrector
Already owning a Nexus 0.75x coma corrector I'm using this scope at f/3, so my insights on the original corrector are limited. However, it's important to note the standard corrector's length (approximately 10cm) poses a risk of protruding into the telescope tube, potentially attracting unwanted reflections and stray light. The Nexus corrector, being shorter by about 2cm is hopefully less prone to this - though I do suspect it may still be an issue.
Focuser
The focuser supplied with this telescope varies internationally. In the UK, the telescope is equipped with a superior focuser akin to those found in Quattro series scopes, while other regions may receive the less robust PDS model focuser. To accommodate my use of a ZWO2600MM camera coupled with a 2" 7-filter wheel—a relatively heavy setup—I replaced the original focuser with a Baader Steeltrack NT focuser which again I already owned.
Backyard Universe
The spider and aperture mask are two great upgrades which give beautiful stars - well worth it in my opinion.
I've had the scope for well over a year but only used it for narrowband. On transitioning from narrowband to broadband imaging recently it revealed serious calibration challenges, likely due to stray light infiltration of the imaging train.
Given the telescope's exposure to various external light sources such as street and neighbour lighting which I can't control, it became apparent that enhancing the telescope's resistance to light intrusion was going to be key in getting the best from this little scope.
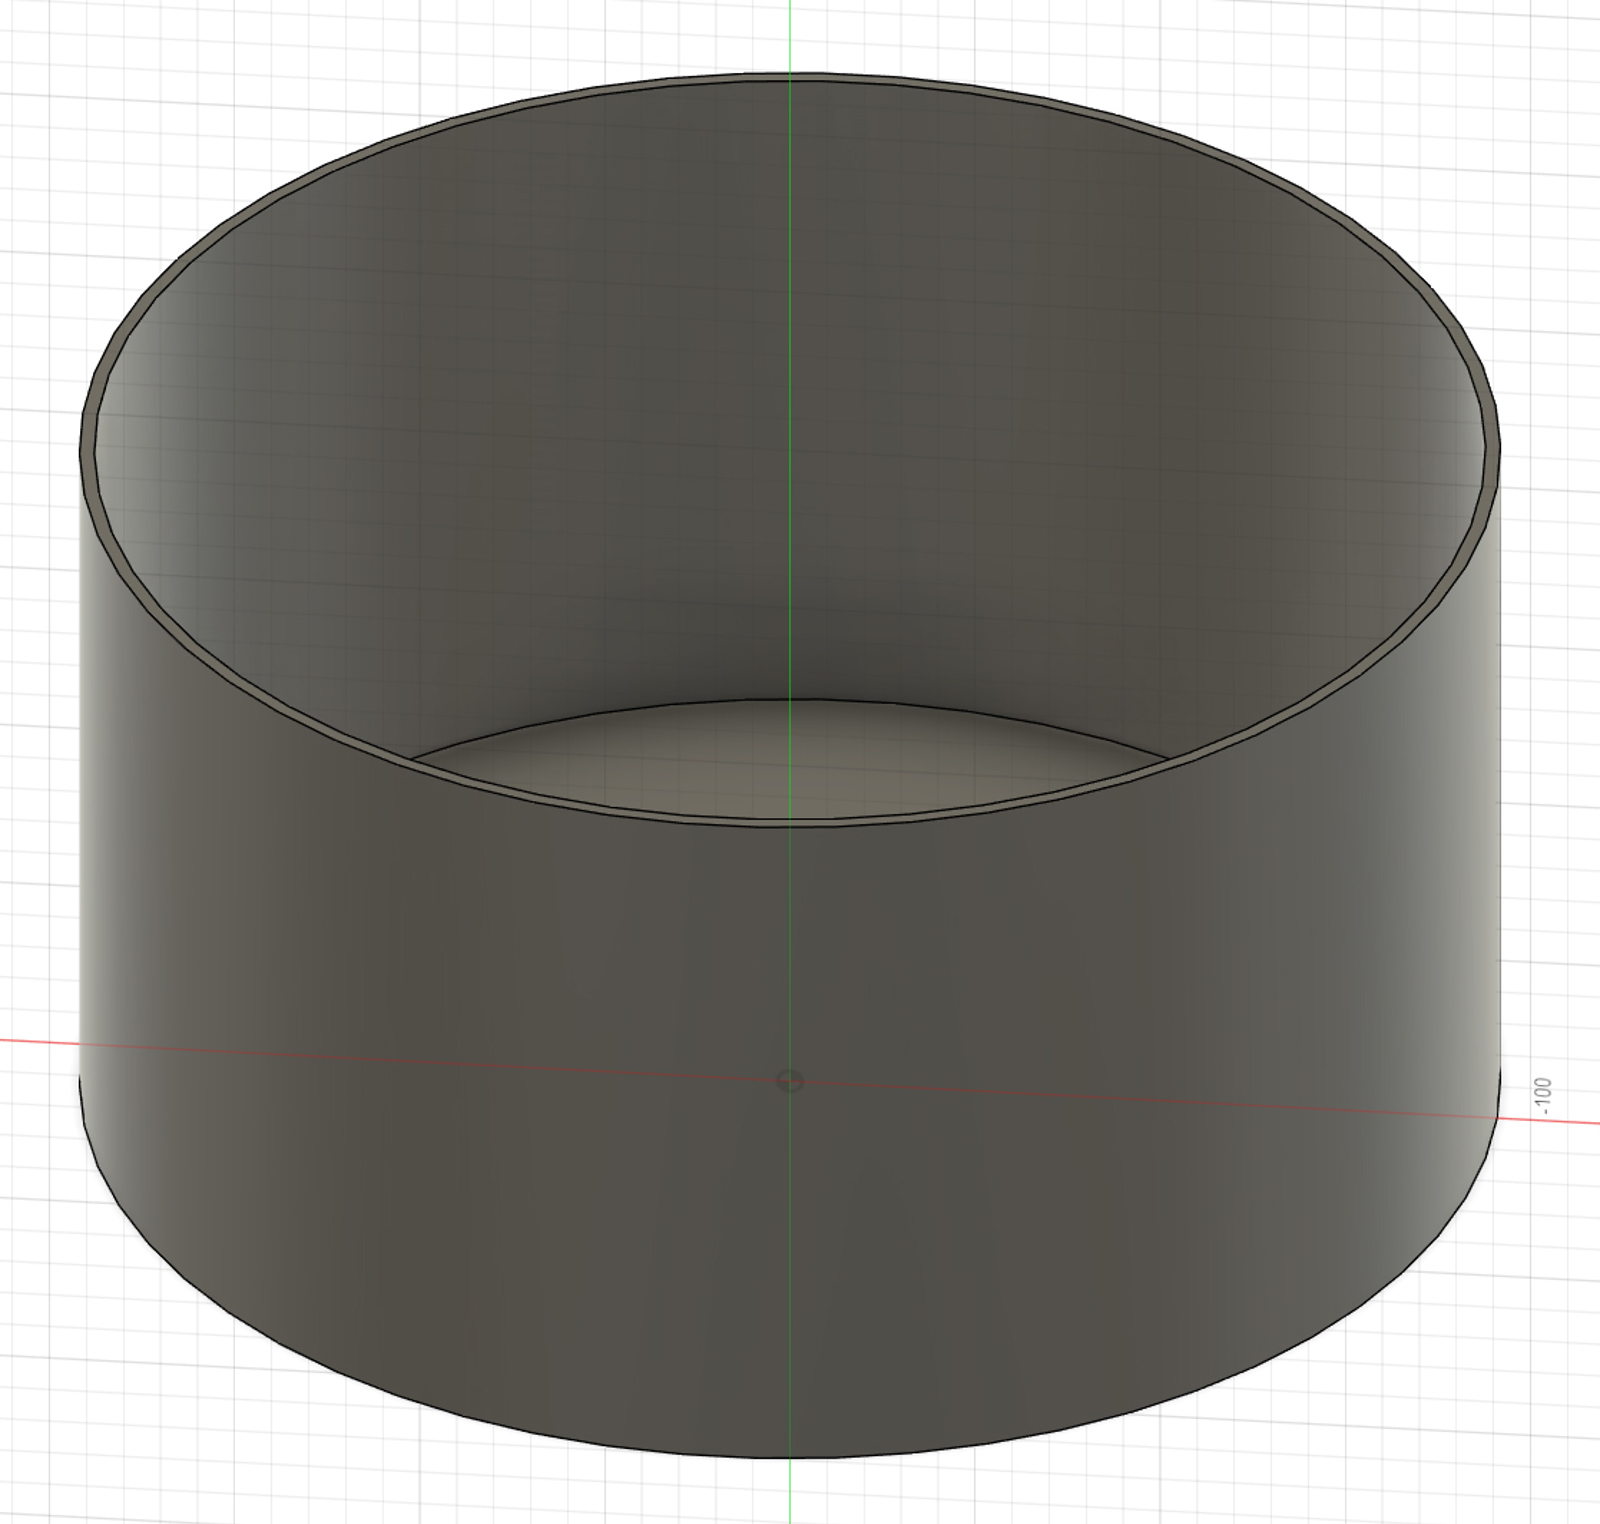
Cap for the rear of the scope
Usually I run a fan at the rear of the scope but I wanted to ensure no light was getting in at all as the back is specifically exposed to an annoyingly bright neighbours light that never turns off. This very simple 3d printed cap is friction fit, pushes on the end of the tube so is really easy to remove for collimation. It just needed a lining of flocking material adding to the inside of the cap for a smooth fit but tight enough that it wont fall off.
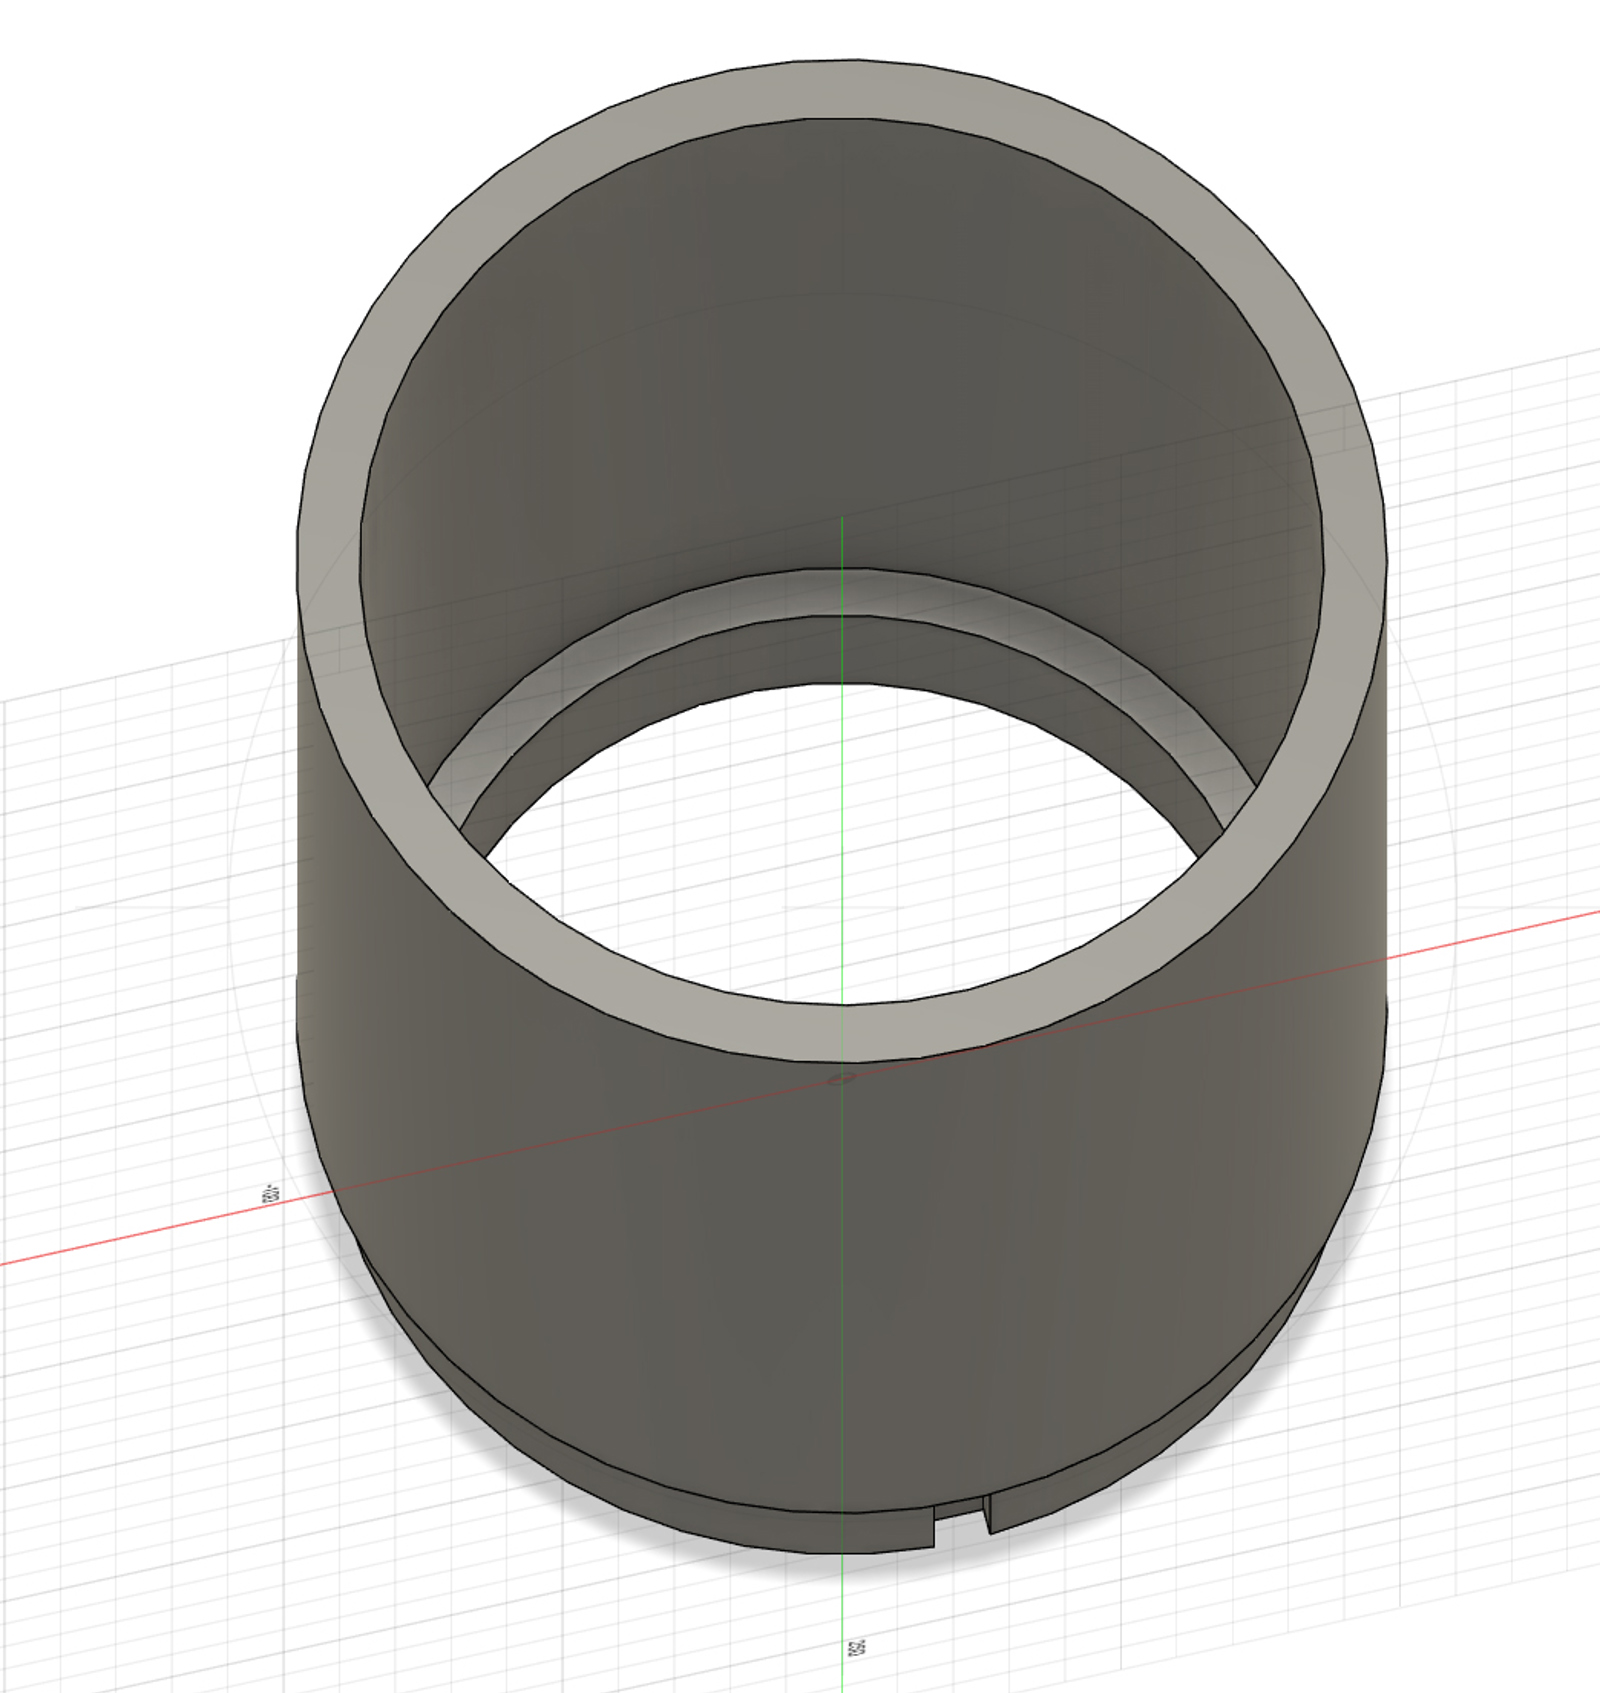
Rigid Dew Shield
This one is possibly over built and heavy for what it is but I like it. My scope is in an exposed and often windy position so needs covering often. A flimsy dew shield doesn't like the weight of a scope cover.
This has been designed to be permanently on the scope. To fit it the white metal ring which strengthens the top end of the scopes tube has been removed allowing space for a dew shield to be held in place on the inside of the tube. I'm not concerned about remove this as the Backyard Astro spider is very strong.
The base of the dew shield has a 150mm opening which further protects the focuser inside the tube from stray light. It has a notch cut out for where the steel tube is joined.
This is fully flocked on the inside and is 200mm long. I may make a longer one. Once installed - its a simple push fit, it then has a band of black tape further securing it to the tube as there was a vey small amount of light getting in. It took about 25 hours to print but it is my favourite dew shield to date.

Dew Shield Cap
Not essential but this is quite handy. Its simply a push fit cap for the dew shield. It needs a lining of flocking for a nice smooth fit but combined with all the other mods fully seals the tube to the point where you can take darks in broad daylight.
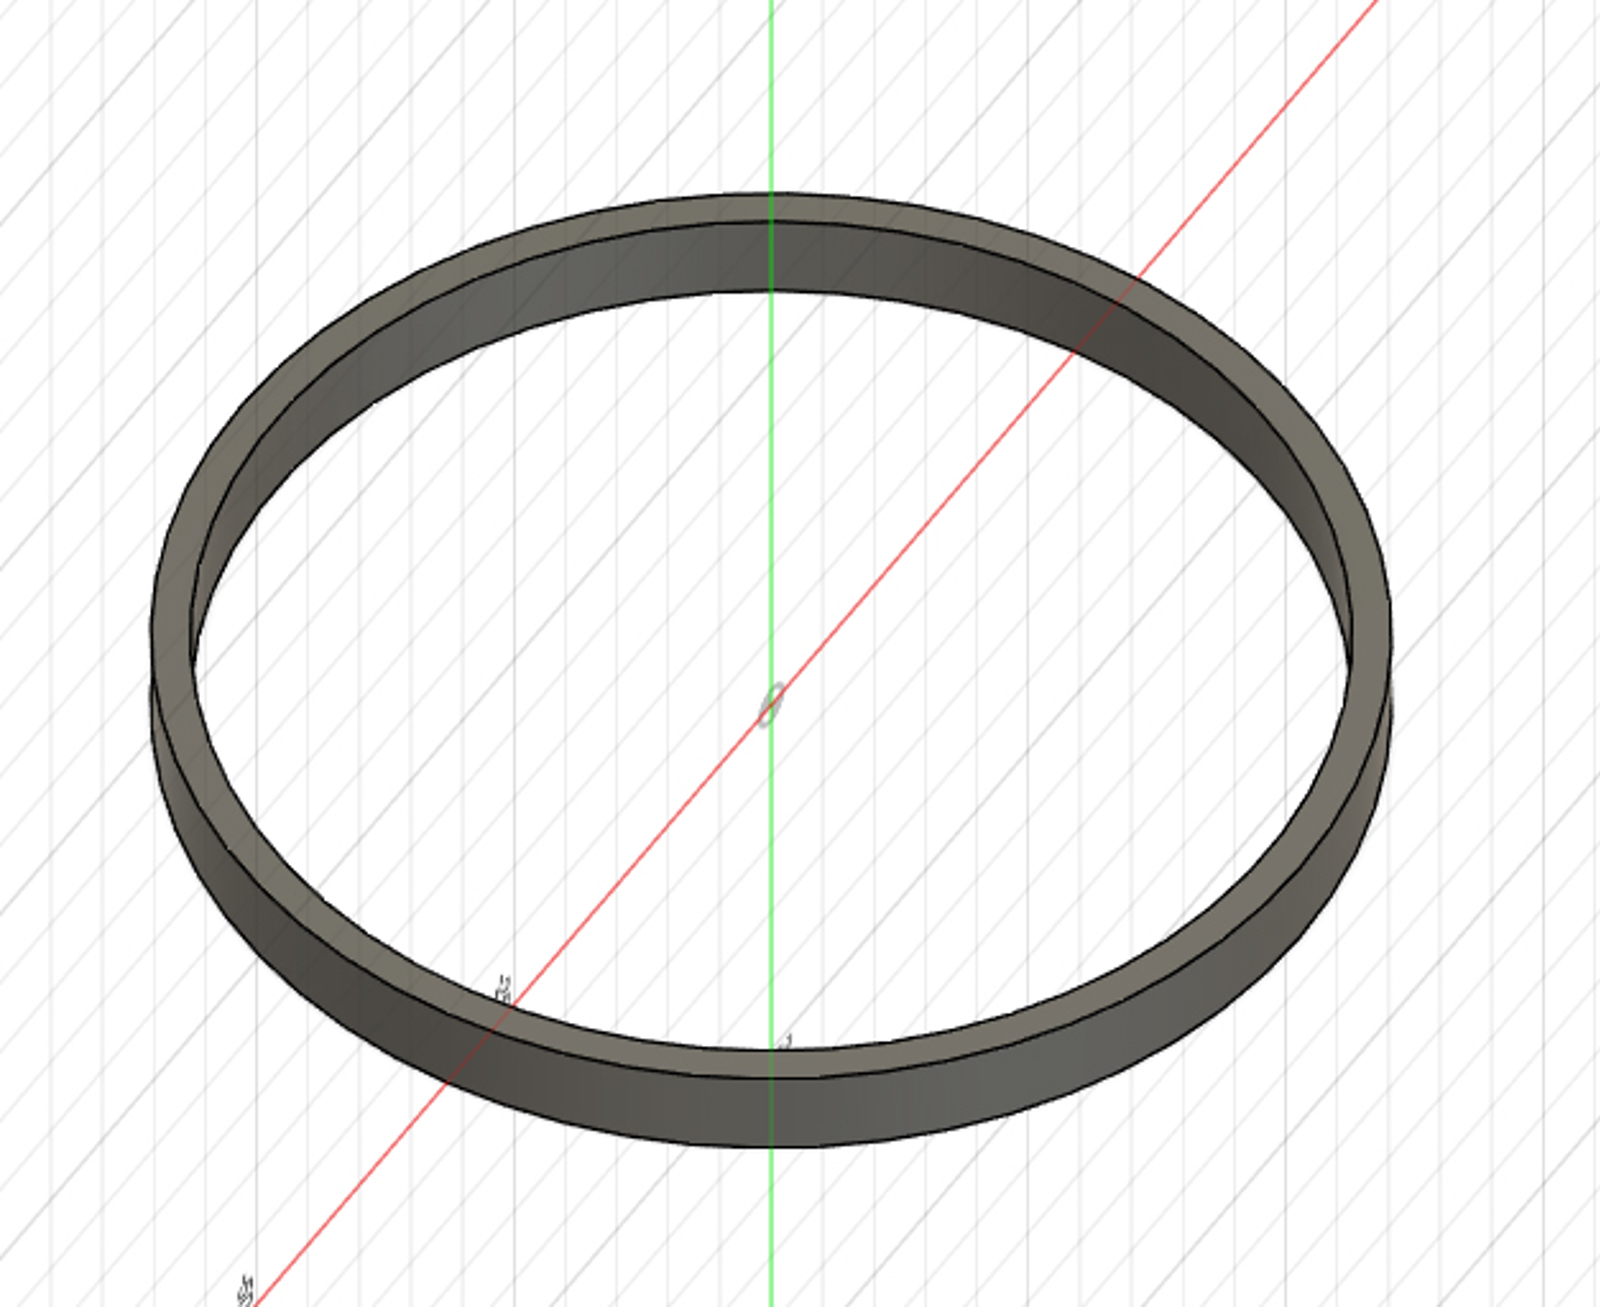
Focus tube ring
This may not be the best solution but it seems to work for now. The Baader Steeltrack NT focuser has quite a large gap between the movable focus tube and the body of the focuser. I've used this focuser for years with only minor issues but as the focuser seemed to be the biggest light leak on the whole scope I want to seal everything I could.
Two of these rings have been installed around the drawtube. Once printed they are cut so that they can be put into place and then black tape is used to hold them in place. The drawtube can move freely but now there is a tiny gap in comparison to the much larger standard one letting in much less light.
I'll add better photo showing this at a later date.
Focuser Base
The Steeltrack is designed for 8" and larger tubes so it doesn't fit the 6" tube very well. This leave large gaps in places between the tube and focuser. There are numerous ways to fix this. Previously I've just used black tape but I want to ensure a better seal.
My very simple solution was Bluetack. This easily mouldable and lightly sticking putty can be easily pushed into all the little gaps and for good measure its then sealed on top with black tape.
Its not the most elegant solution but it works and is quick, easy and cheap.
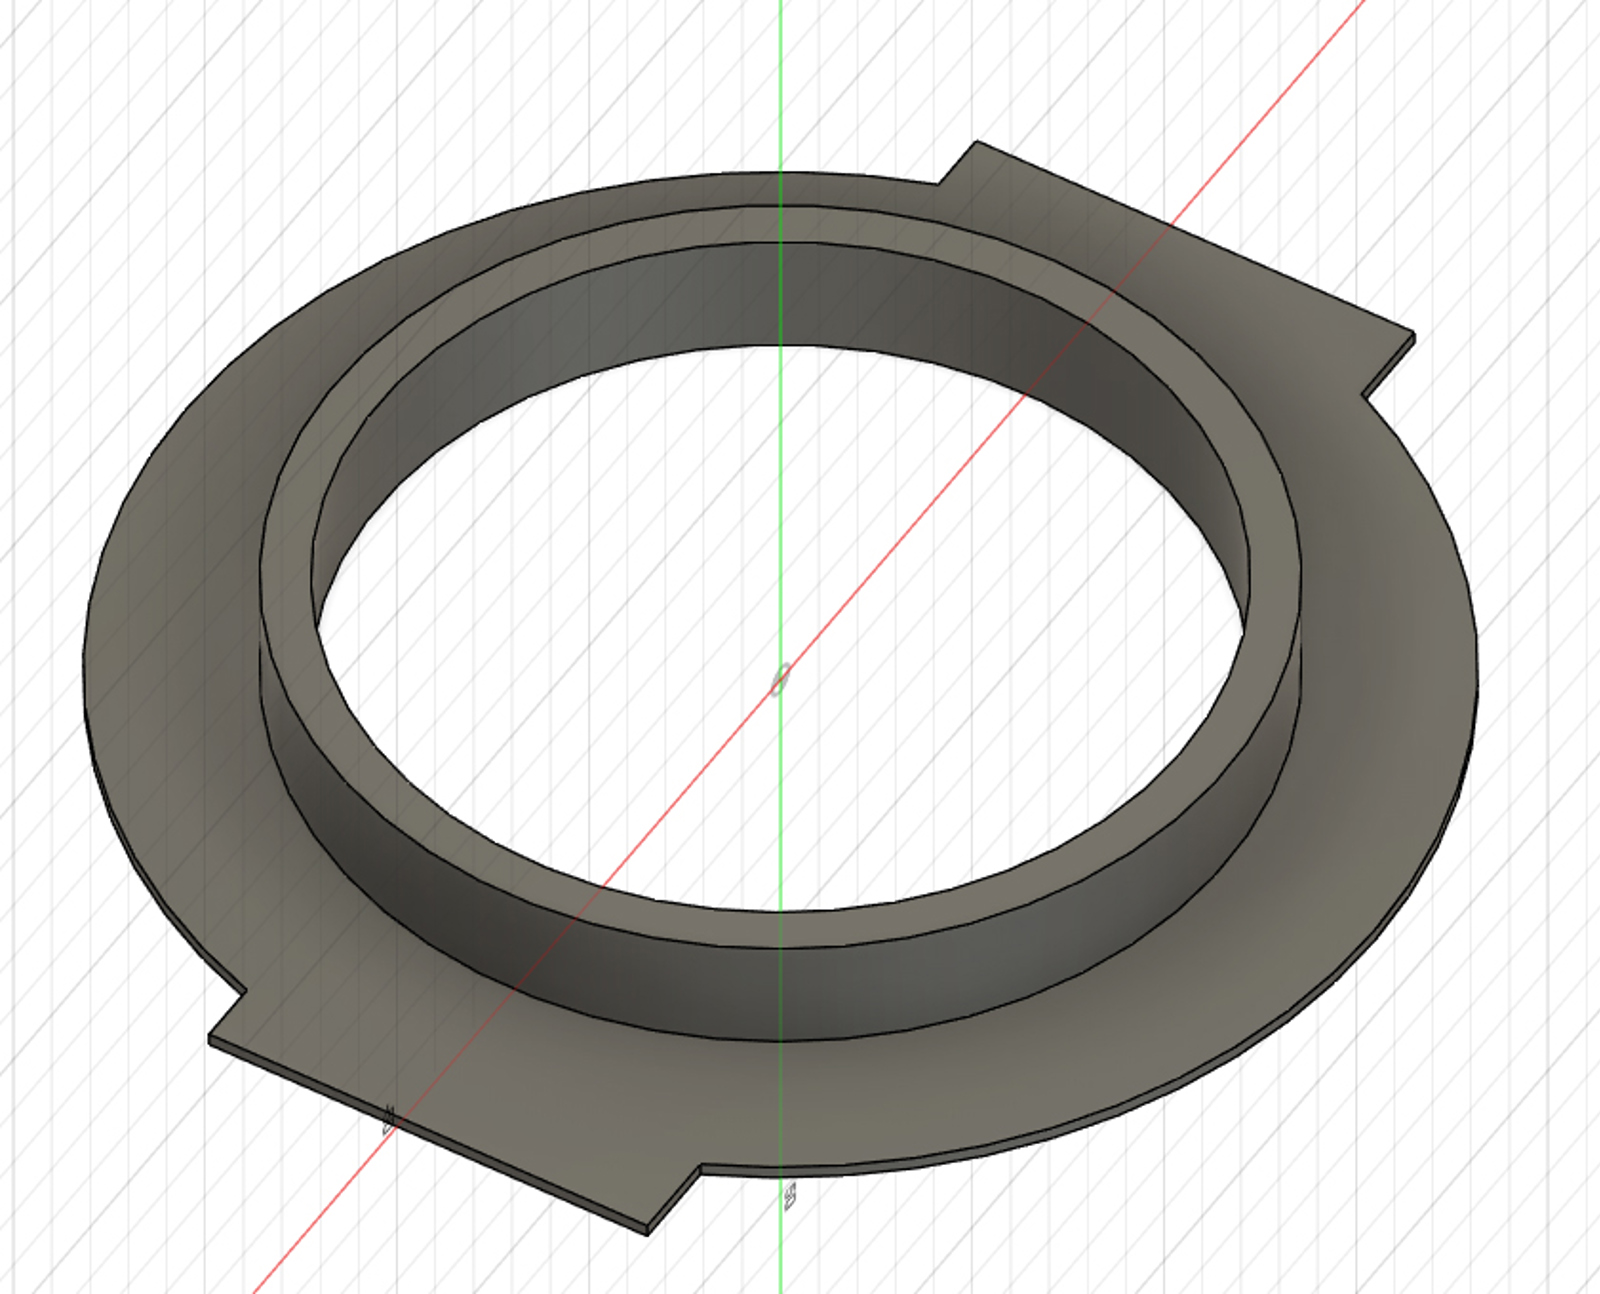
Focuser - inside tube
Light was still getting into the tube through the focuser despite the previous two mods so it needed plugging on the inside of the tube.
This was designed to block the large gap on the inside of the focuser. The draw tube can freely run though it and it is then fully flocked. The images illustrate how it has ben fit to the focuser. The print had to be cut to shape a little to get it to fit so the final thing doesn't quite match the 3d design.
Once installed the flocking inside the tube was made to fit very snugly up to the drawtube ensuring multiple layers of light proofing. One final touch shown on the last image was to flock the inside of the drawtube itself which significantly darkens it.
Results
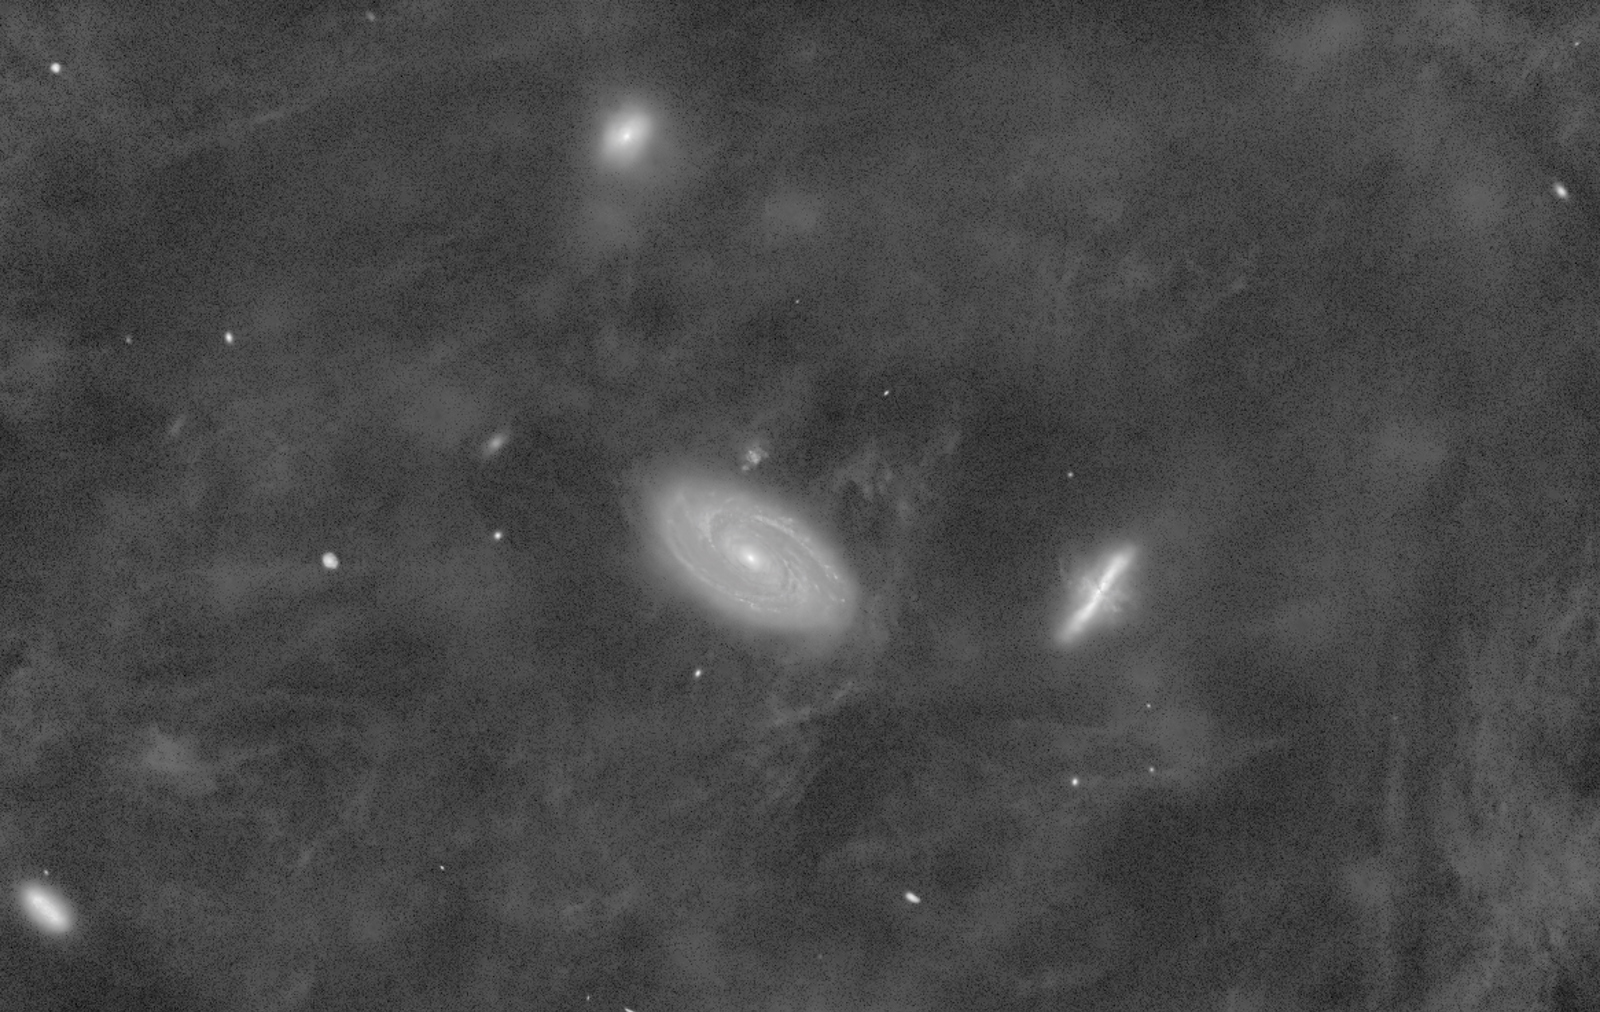
The starless image below shows how bad the background was with the light leak which could not be calibrated out.

After the mods I aimed to scope at M81 and managed to get a few hours of luminance data - and hoping that the night would not be ruined again. I think the extraction of the extremely faint background IFN makes it pretty certain that the mods thankfully worked.
I'm in a Bortle 5 zone, uncontrollable light falls on my scope from multiple angles. These mods may not be needed if you have an observatory or darker skies. They seem to have made the scope workable in broadband for me with the Baader focuser which I suspect is the biggest source of the problem.
I'll add more pics to this when I get chance and being a bit of a novice regarding 3d printing if I can figure out how to provide the 3d files will make them available for download.